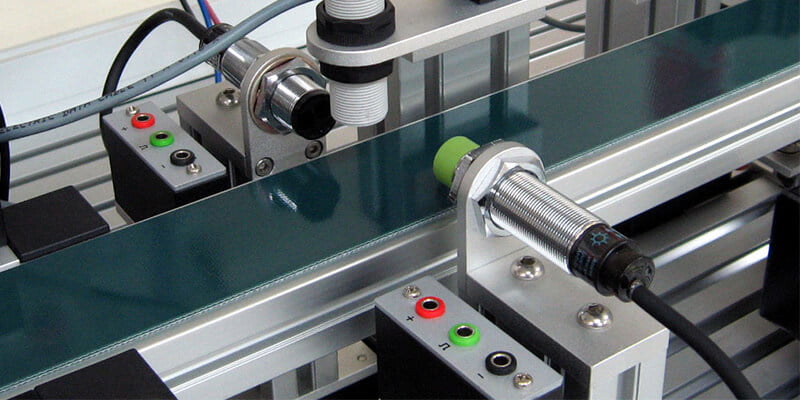
Inductive proximity counters are used in counting applications like product counting, bottle counting and many other production or Manufacturing processes. In this blog, we will see how to use the inductive proximity counter with Arduino and introduce an emergency data backup solution during a power loss. This will be helpful to resume the count from where it left before a power failure.
The concept is we monitor the input voltage on an Arduino pin constantly and when the power is off, the voltage starts dropping down, when it reaches a certain threshold, we call a function to store the current count on the EEPROM. For this purpose, we need a capacitor or a super capacitor for better backup time before shutting down.
Super Capacitors:
Super capacitors are energy storage component that comes between an electrolytic capacitor and a rechargeable battery. It can store energy higher than a capacitor and charges faster than a battery and tolerate a higher cycles.
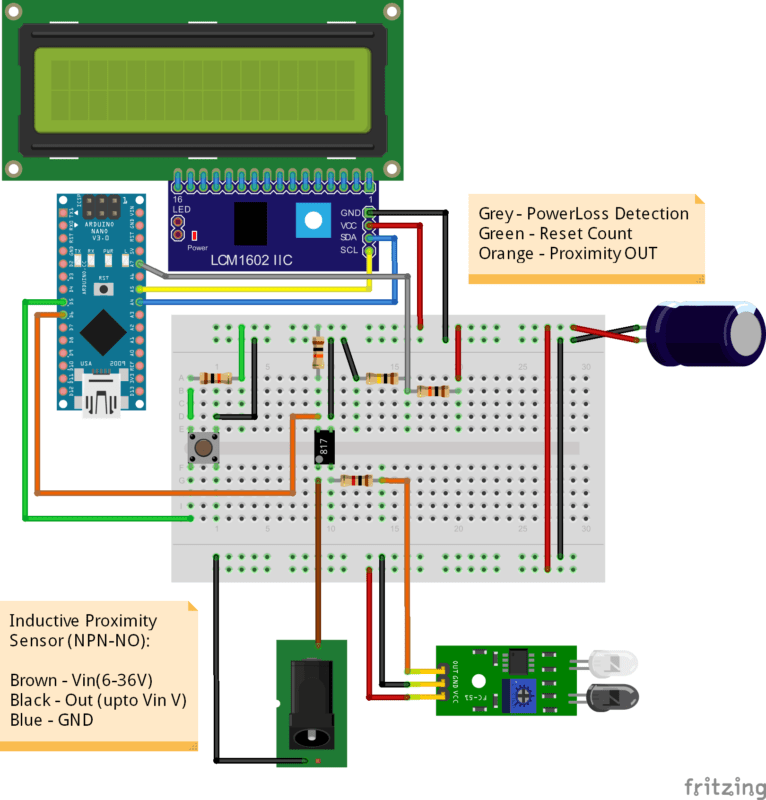
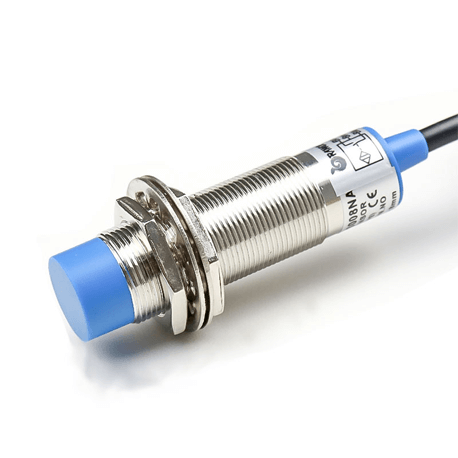
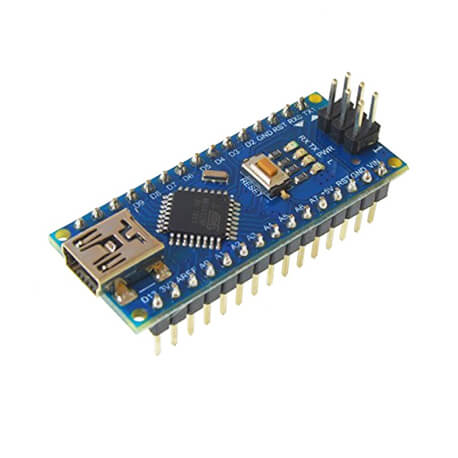
We use Arduino Nano as it is compact and consumes less power. We have connected the Inductive Proximity counter on pin 6 of arduino and we provided a reset button to reset the count to zero. For reference we shown Inductive proximity as IR Sensor, you can see the wire color and connect it accordingly. A Super Capacitor of 1 Farad 5.5Volt is connected at the Vin Pin. The pin A7 (Analog) is used to monitor the voltage.
Components Required:
- Arduino Nano with Cable
- MB102 Breadboard
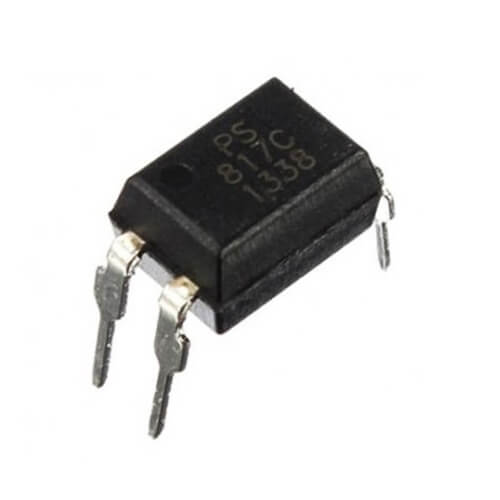
- PC817 Optocoupler
- Inductive Proximity Sensor
- Pushbutton
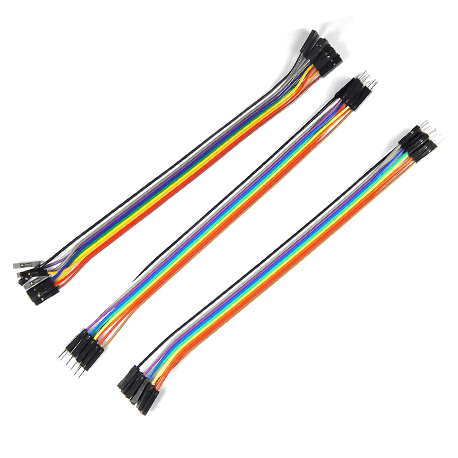
- Jumper Wires
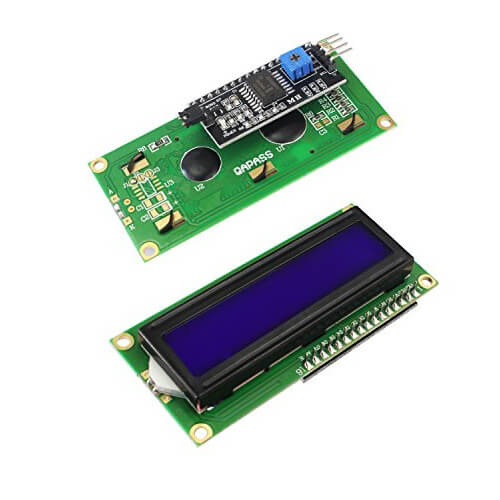
- LCD Display with I2C
- Resistor Box
- Super Capacitor 5.5V 1Farad
Circuit Diagram:
In the code, we are using EEPROM to store the counts. But there is a drawback as the standard EEPROM Function stores data into bytes only, so we won’t be able to count more than 255 (it will reset to zero on the next count). To overcome this, there is an extended EEPROM function called get and put. These function will store series of bytes and read series of bytes this solves us the counting overflow problem. Now we can use long, unsigned long to store lakhs of count.
You will be required the following libraries installed. Few libraries will be available by default in the Arduino IDE/Arduino Core Library itself.
- EEPROM.h (Available default in Arduino IDE)
- Wire.h (Available default in Arduino IDE)
- LiquidCrystal_I2C.h
- MsTimer2.h
Code:
#include <EEPROM.h>
#include <Wire.h>
#include <LiquidCrystal_I2C.h>
#include <MsTimer2.h>

// Set the LCD address to 0x27 for a 16 chars and 2 line display
LiquidCrystal_I2C lcd(0x3F, 16, 2);
// pin definitions
int ledPin = 13;
int inductivePin = 6; //Inductive Counter OUT Pin
const int resetPin = 5; //Reset Count Button
int resetValue = 0;

// global variables
int lastindState = 1;
long unsigned int lastPress;
int debounceTime = 20;
int counter;
int value;
void setup() {

  MsTimer2::set(10, powerLoss_Detector); // 10ms period
  MsTimer2::start();
  // setup pin modes
  pinMode(ledPin, OUTPUT);
  pinMode(inductivePin, INPUT_PULLUP);
  pinMode(resetPin, INPUT);

  lcd.begin();
  // Turn on the blacklight and print a message.
  lcd.backlight();
  //initialise Serial port
  Serial.begin(9600);

  EEPROM.get(0, value);
  lcd.print("Last Count");
  lcd.setCursor(7, 1);
  lcd.print(value);
  //assign counter the value of address 0
  EEPROM.get(0, counter);
}

void loop() {
  int resetCount = digitalRead(resetPin);

  if (resetCount == LOW) {

    for (int i = 0 ; i < EEPROM.length() ; i++) {
      EEPROM.write(i, 0);
    }
    counter = 0;
    lcd.clear();
    lcd.setCursor(0, 0);
    lcd.print("Reset Complete");
    delay(1000);
    lcd.clear();
    lcd.setCursor(0, 0);
    lcd.print("Product Count");
    lcd.setCursor(7, 1);
    lcd.print(counter);
  }
  int indState = digitalRead(inductivePin);   //read the state of inductivePin and store it as indState (0 or 1)

  if ((millis() - lastPress) > debounceTime)  //if the time between the last buttonChange is greater than the debounceTime
  {
    lastPress = millis();   //update lastPress
    if (indState == 0 && lastindState == 1)   //if button is pressed and was released last change
    {
      counter++;
      //EEPROM.put(0, counter); //write counter to address 0
      digitalWrite(ledPin, HIGH); //momentary LED
      lastindState = 0;    //record the lastindState

      //print the results
      Serial.print("Counter: ");
      Serial.println(counter);
      lcd.clear();
      lcd.setCursor(0, 0);
      lcd.print("Product Count");
      lcd.setCursor(7, 1);
      lcd.print(counter);
    }
    if (indState == 1 && lastindState == 0)   //if button is not pressed, and was pressed last change
    {
      lastindState = 1;    //record the lastindState
      digitalWrite(ledPin, LOW);  //momentary LED
    }
  }
}

void powerLoss_Detector() {
  pinMode(A7, INPUT);
  if (analogRead(A7) < 700) {
    EEPROM.put(0, counter);
  }
}
Recommended Buying Links:


Can I Get Schematic for this?